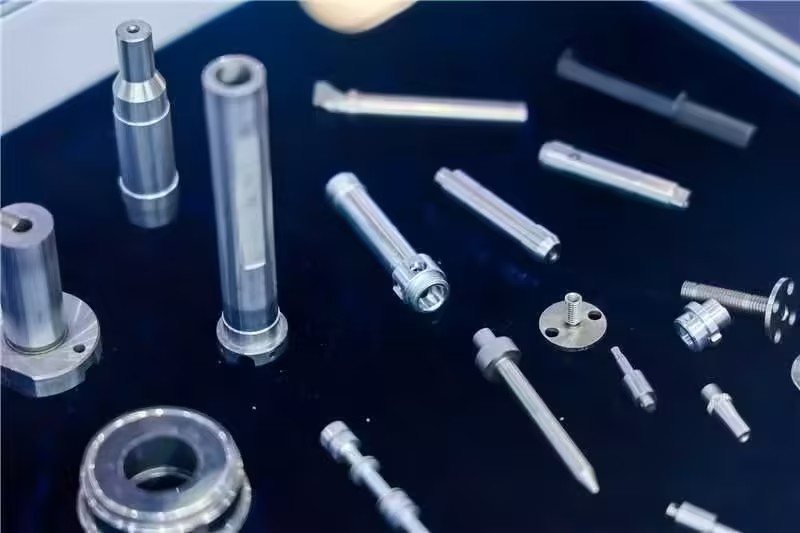
Surface Defects of Auto Parts: How to Achieve Detectability, Accuracy, and Speed? An Industrial Chain Exploration Event
【Introduction】 Auto Parts Detectability, Accuracy, Speed Industrial Chain Exploration
Surface Defects of Auto Parts: How to Achieve Detectability, Accuracy, and Speed? An Industrial Chain Exploration Event
ITES Shenzhen Industrial Exhibition and the Industrial Internet Alliance jointly launch the industrial chain observation topic with the media, focusing on the global industrial chain dynamics, analyzing the upstream and downstream chain logic, and interpreting the impact of policies, technologies, and markets on the industrial ecology. From sub - fields to cross - border integration, it uses data to reveal trends and provide in - depth references for industry exploration.
l Aluminum chips remain in the water jacket of the engine cylinder block. Manual inspection is not only inefficient but also prone to missing subtle defects.
l The detection error rate of camshaft yellow oil coating is high. Due to the dynamic changes in the shape and color of yellow oil with each batch, traditional vision systems are difficult to make stable judgments.
l Cracks that are difficult to be found by the naked eye are easily generated in the forming process of automobile stamping oil tanks, and the "shrinking state" before cracking is difficult to identify.
l Welded parts lack reliable non - destructive testing methods. Currently, fluorescent penetration after destructive experiments still relies on manual work, and it is difficult to sort parts with rough surfaces.
l The transparency and high reflectivity of car lamps make them extremely susceptible to optical interference when detecting scratches, bubbles or internal foreign objects, making imaging very difficult.
l The problem of high - reflection scratches and ineffective sorting of stainless steel pipes has been difficult to solve for a long time; The rear triangular window plastic parts need to detect microcracks and particle defects, and the detection stability faces great challenges.
These product detection difficulties from many first - tier auto parts enterprises seem fragmented, but in fact, they reflect the huge gap between the detection needs of high precision, high speed, and high adaptability and traditional detection methods, which is a "perennial problem" for enterprises.
On September 18, the "Industrial Chain Exploration Activity" jointly created by ITES Shenzhen Industrial Exhibition, the Industrial Internet Alliance, and the media arrived at the third stop in Guangzhou Mingzhao Equipment, focusing on the theme of "Advanced Manufacturing Process - AI Detection". This event attracted more than 100 professionals from first - tier production enterprises such as BYD, Dongfeng Nissan, GAC Toyota Engine, Huayang Group, Minan Auto Parts, GAC Mitsubishi, Golden Bell Auto, Dajur Motorcycle, Zhida Precision, Sany Auto Parts, Golden Bell Auto Parts, and Dengyun Auto Parts, as well as equipment enterprises and research teams such as Enmor Technology, Hoston Intelligence, Ceyuan Robot, Moshi Technology, Shenzhen University of Technology, and Shenzhen Institute of Metrology and Testing, to gather together to explore the "way to break the situation" of auto parts quality detection under AI.
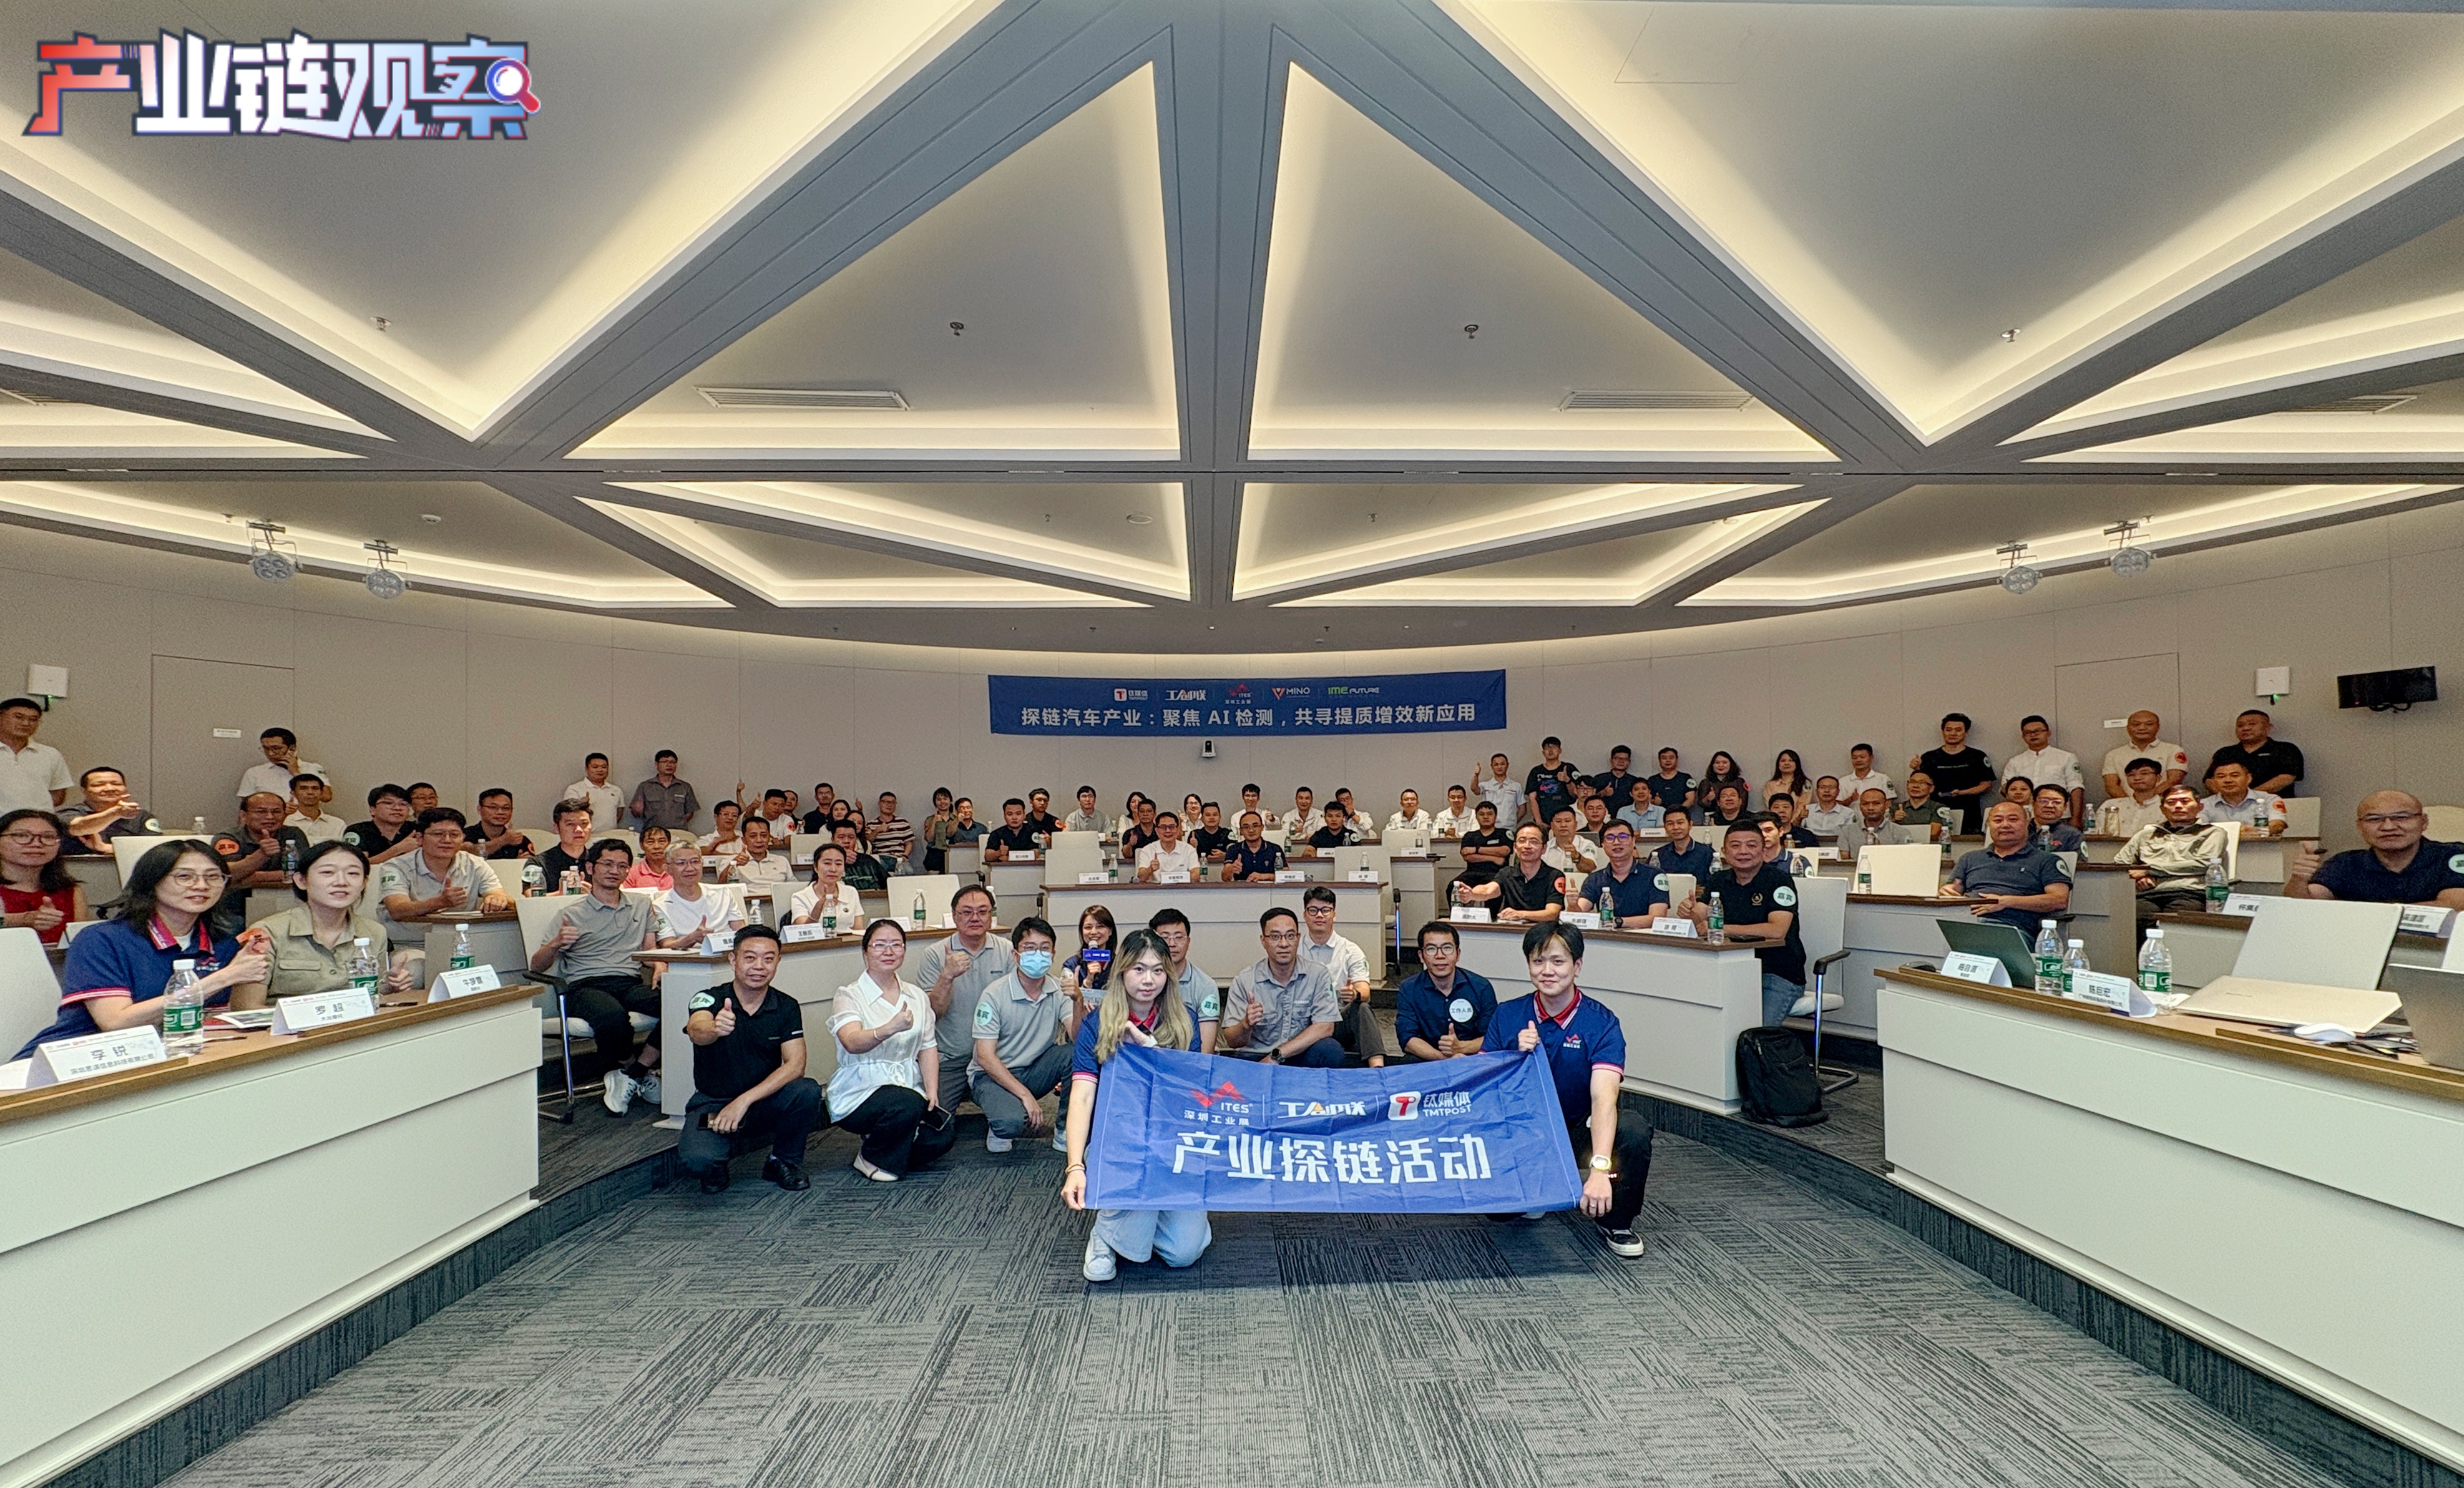
Relevant heads from GAC Toyota Engine and Daye Motorcycle shared in detail the inspection difficulties encountered in production. Moreover, some enterprises brought product samples to the site to seek solutions. These "sample - carrying communication" scenarios became the most authentic footnote of the entire event. If you are also troubled by surface defect quality problems, or you have mature solution cases and want to know more about the quality inspection needs of auto parts enterprises for docking, welcome to scan the code to contact the [Industrial Chain Observer]. You can also join the inspection exchange group and receive the exclusive automotive parts industry insight report!

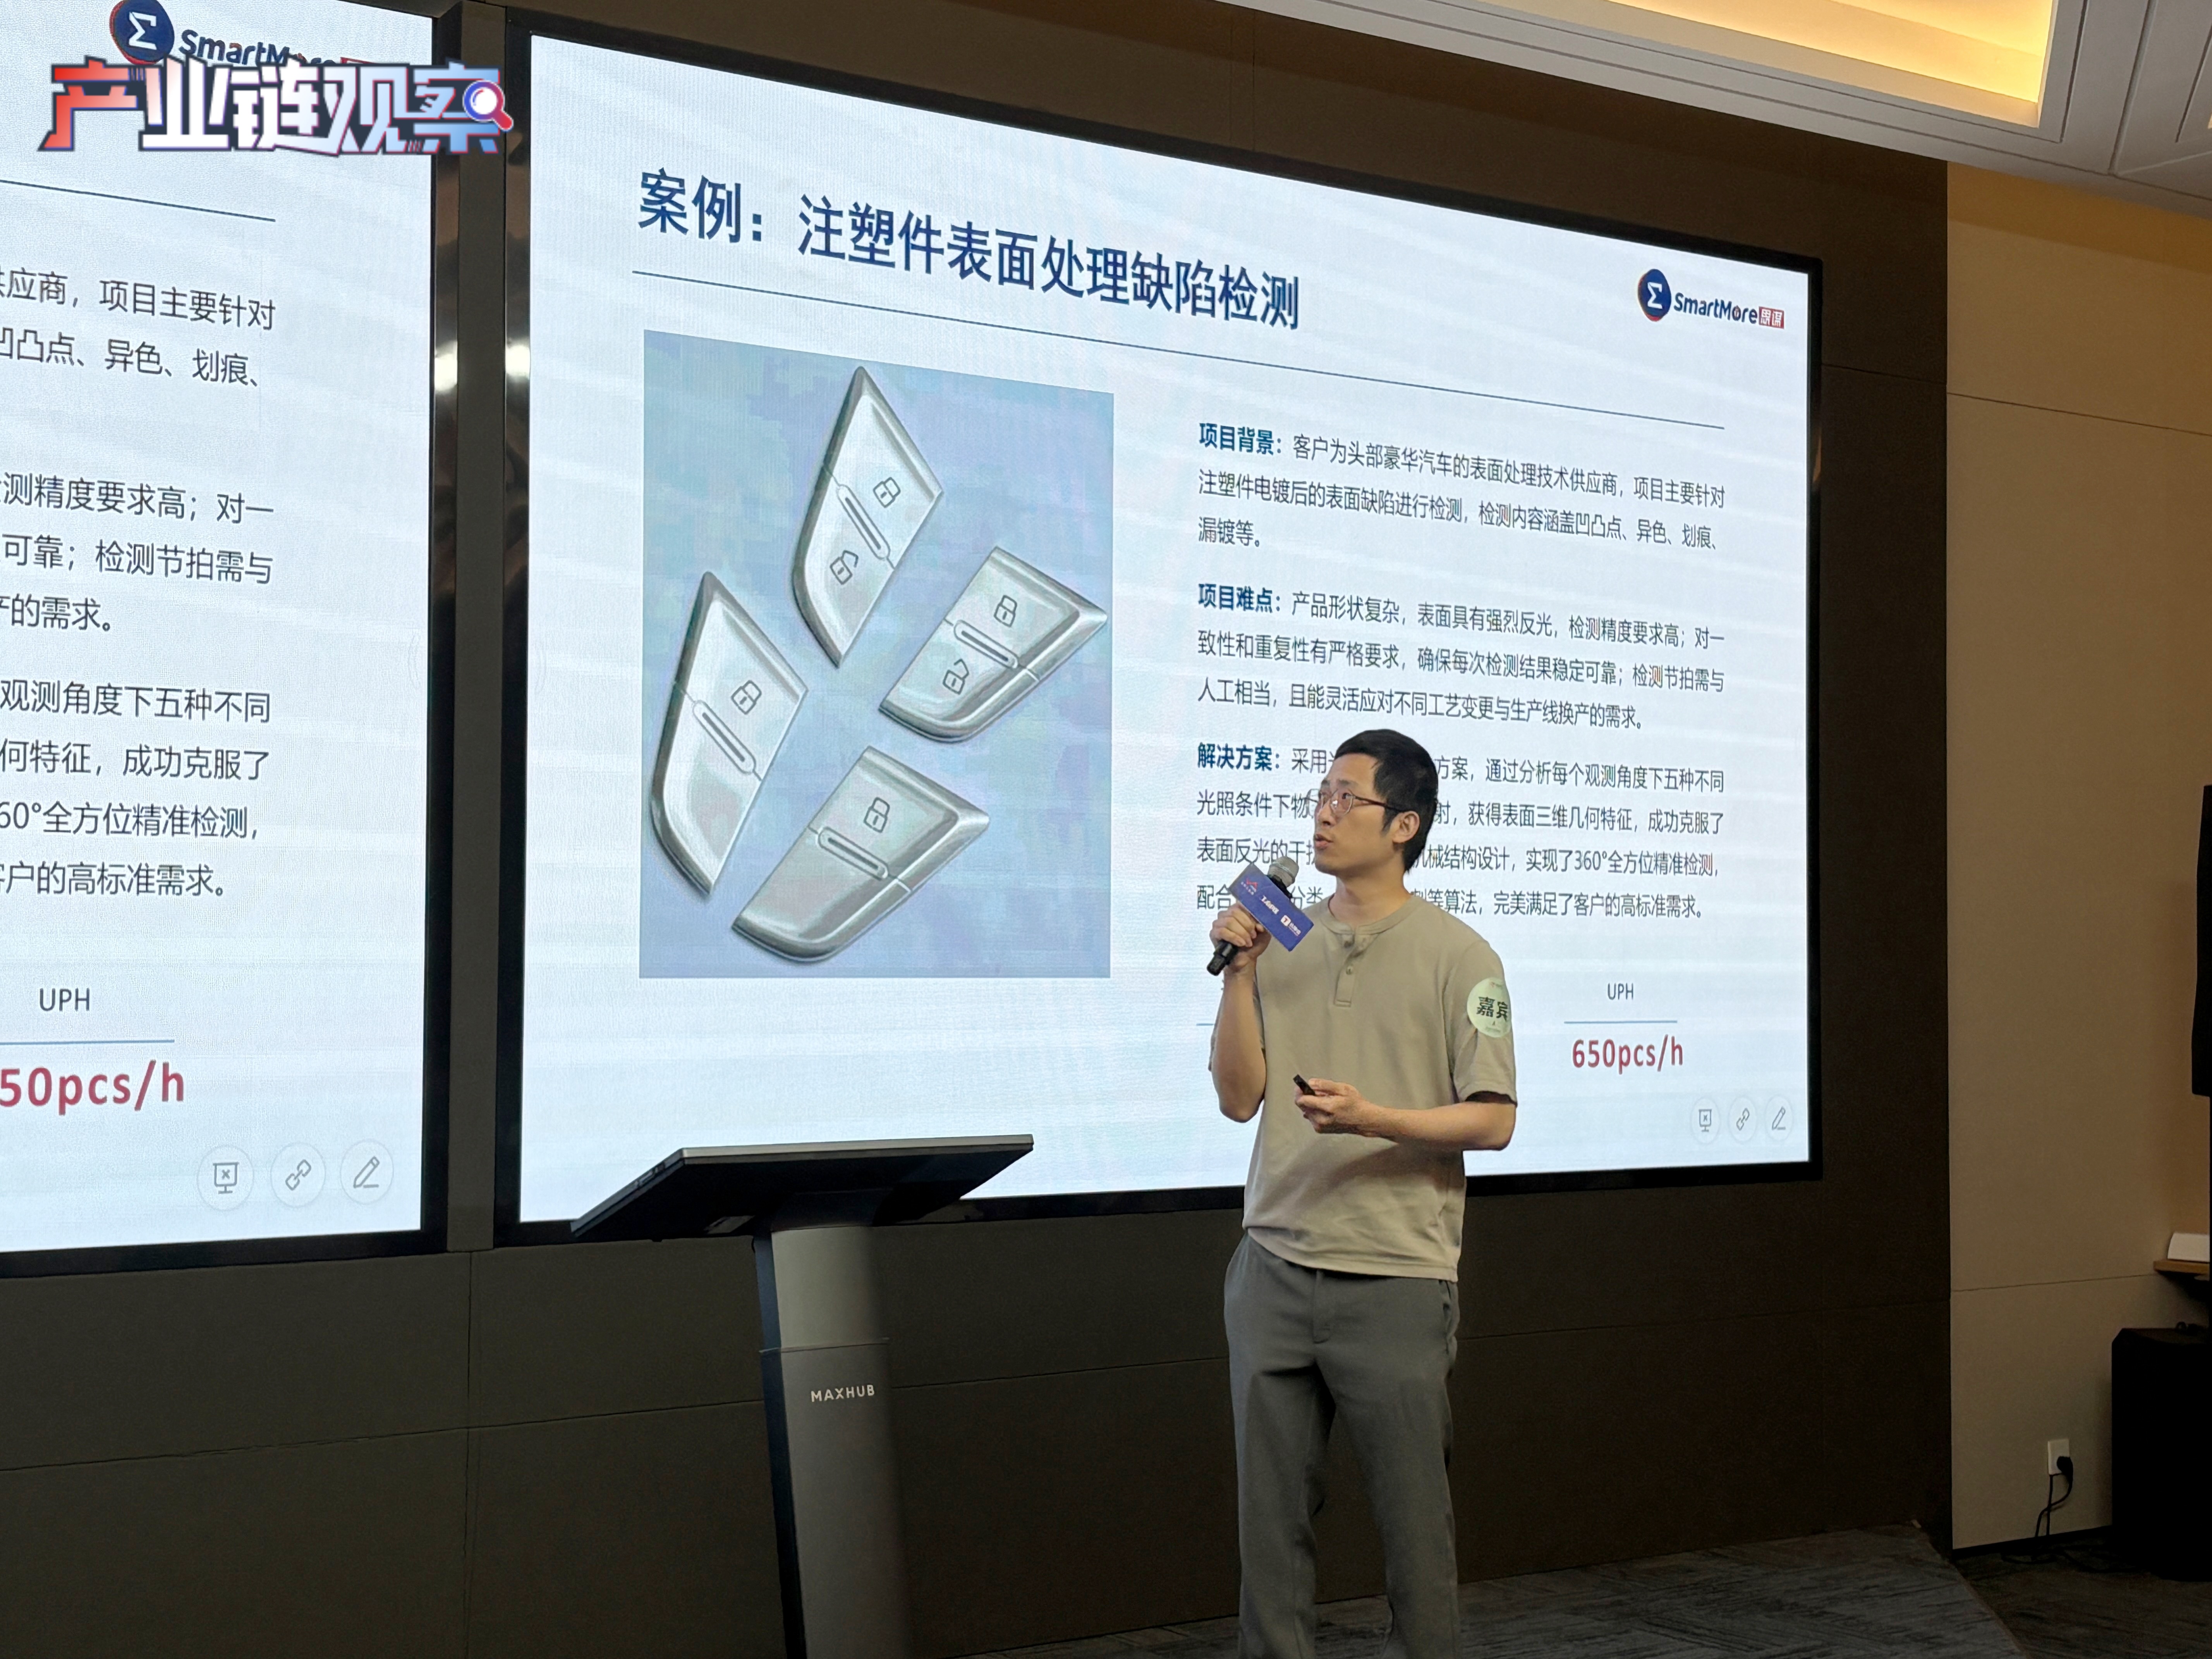
Li Rui, Solution Director of Simoo Technology, shared with reference to multiple industry cases. For example, in the surface defect inspection of electroplated parts of luxury cars, photometric stereo imaging and a five - axis mechanical structure are adopted to achieve 360° all - round accurate inspection, with a UPH (Units Per Hour) as high as 650. In complex defect scenarios such as the blue film of new energy batteries, 3D algorithms and AI segmentation technology are integrated to complete full - coverage inspection of six sides, edges and corners. In addition, Simoo also uses self - developed AIGC technology to generate defect samples, solving the problem of difficult defect collection and significantly improving inspection reliability and efficiency.
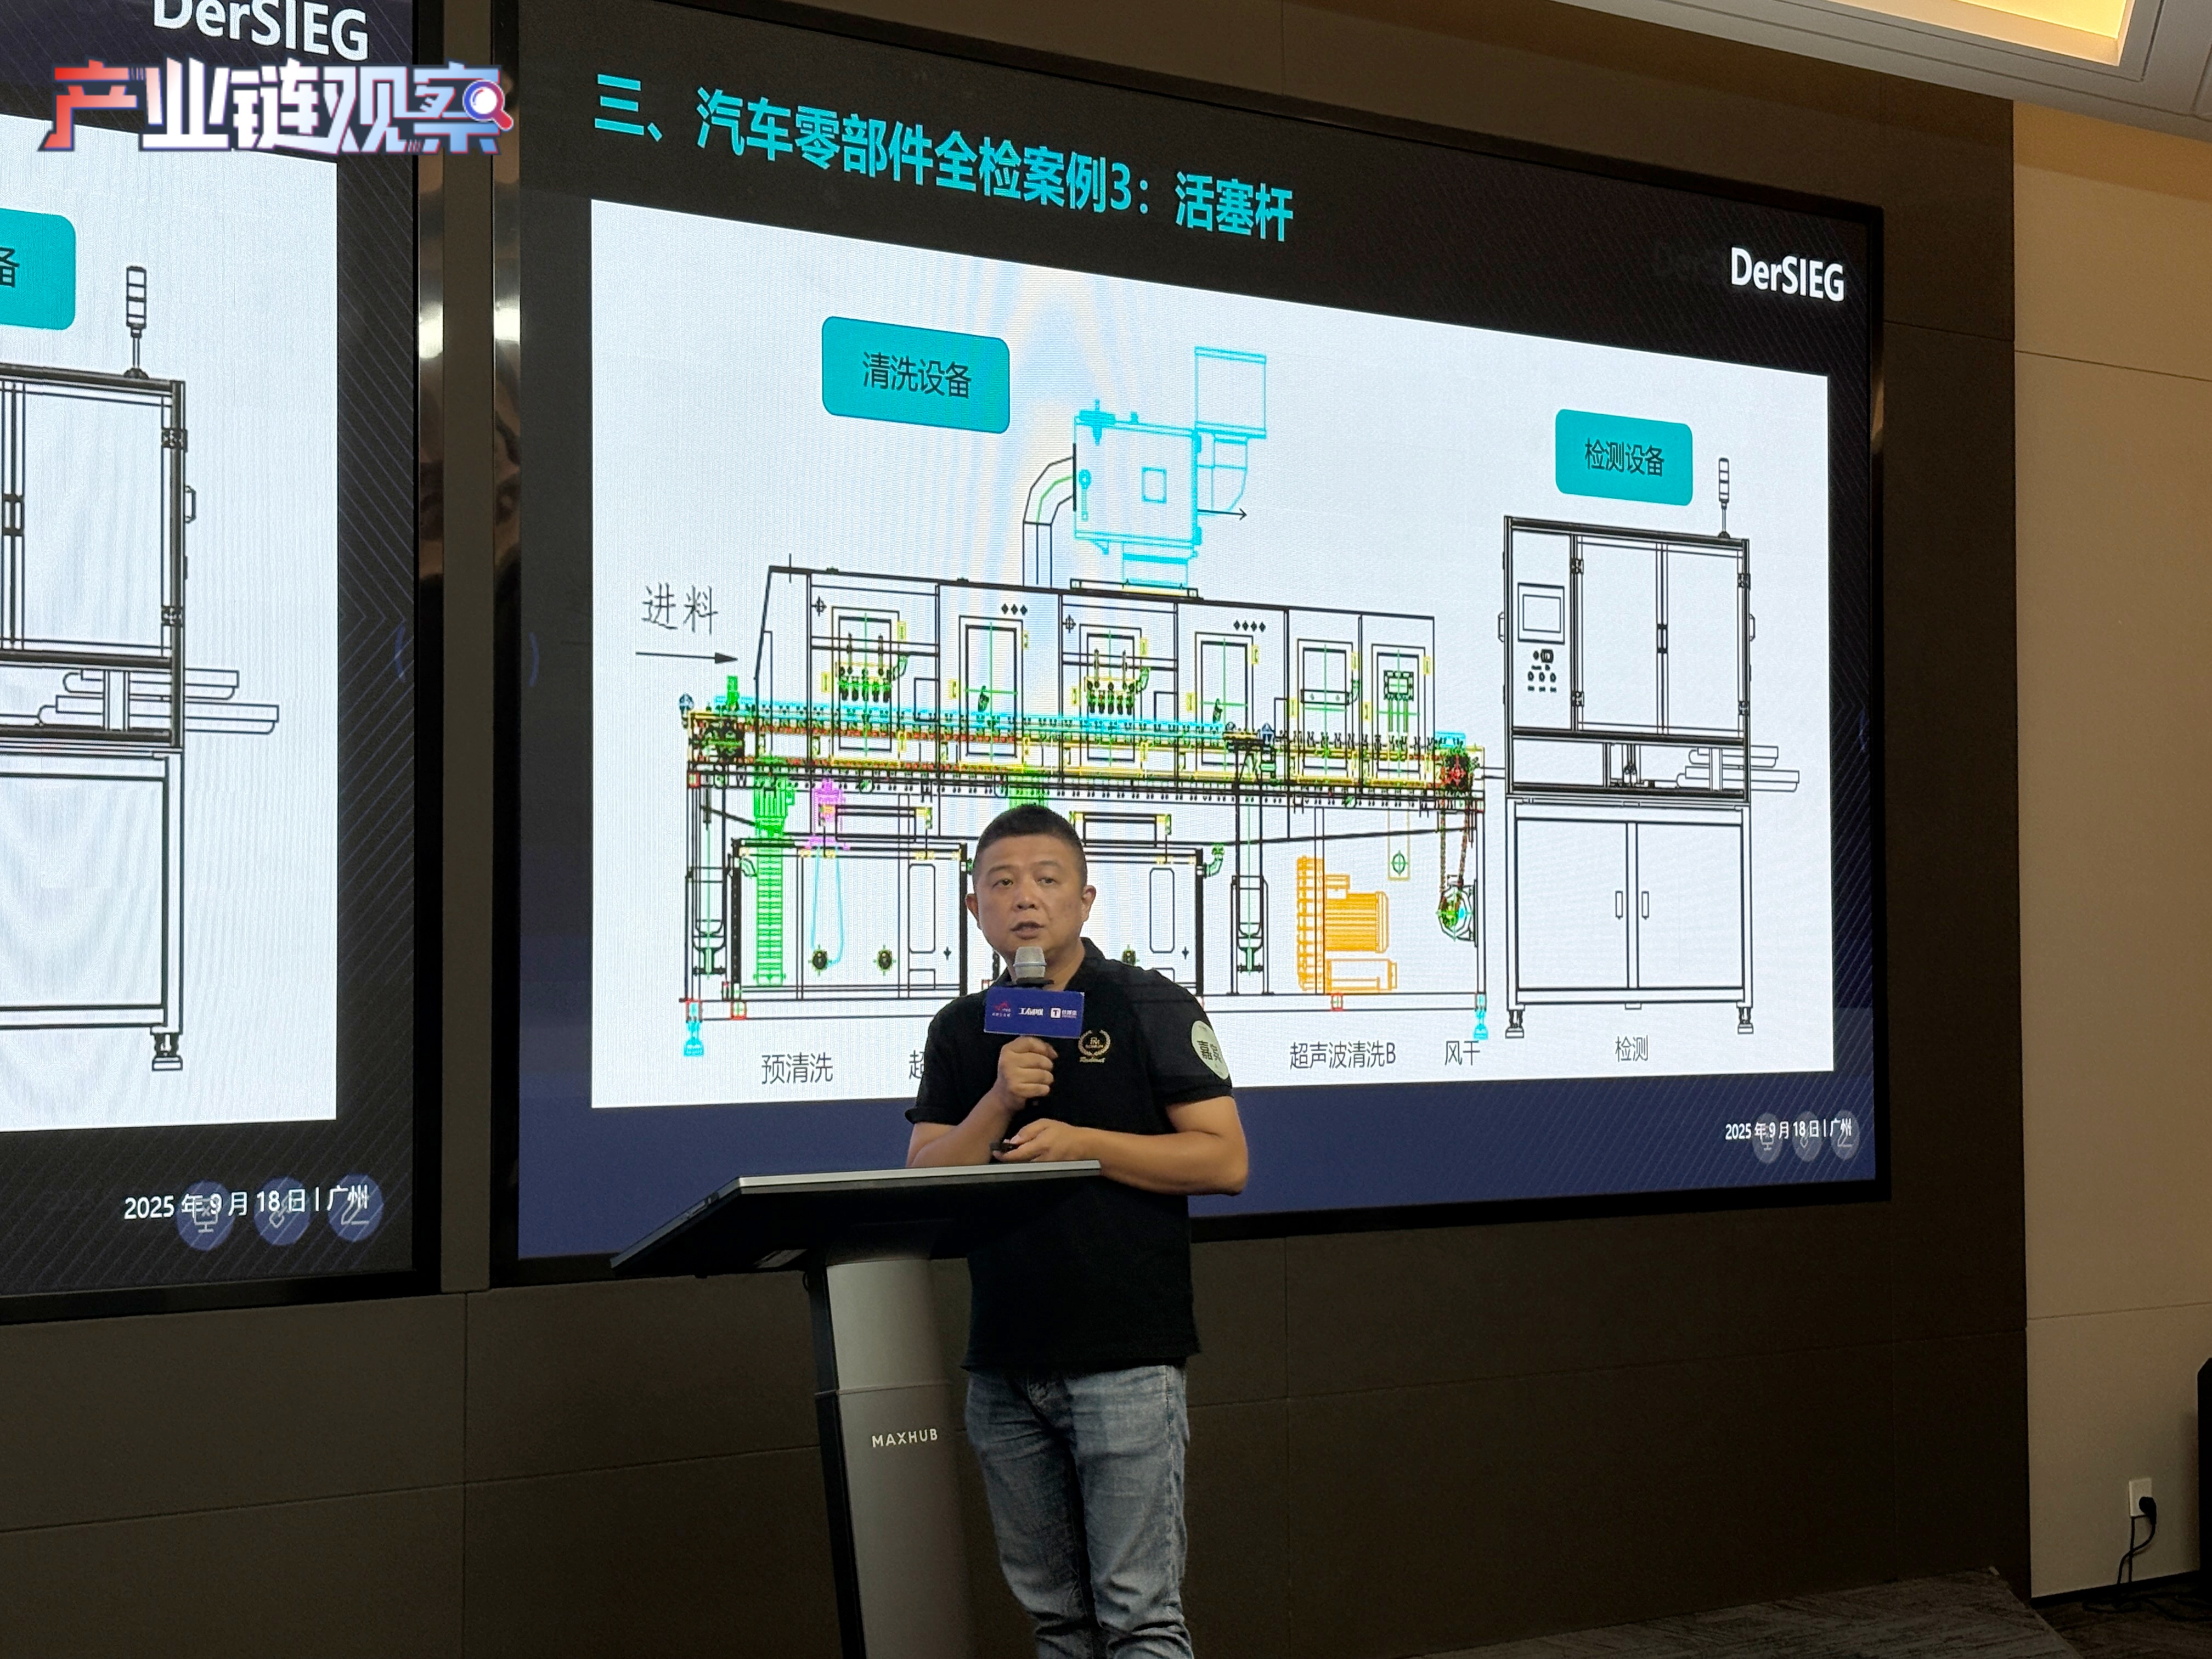
Hu Xiang, Marketing Director of Desgo Intelligence, demonstrated several practical application cases based on deep learning on site, including multi - surface inspection of aerospace special - shaped parts and intelligent identification of micro - scratches on piston rod surfaces. This solution realizes high - precision identification of tiny defects by systematically collecting various defect samples such as scratches, knocks, missing corners and pits in precision parts and continuously training the AI large model with algorithms. To further improve the recognition accuracy, Desgo also introduced static repeatability and dynamic repeatability verification processes, making the overall recognition accuracy exceed 99%
The team of Vice President Wang Wenbin from Shenzhen Polytechnic University has introduced chip - level optical metrology technology into the research on surface inspection of auto parts. Team member Niu Mengxuan demonstrated the application potential of three advanced optical measurement technologies from the semiconductor industry — laser interferometry, optical scattering measurement and optical defect inspection — in identifying micron - level defects of auto parts. The resolution of this optical inspection technology can reach the nanometer level, and the inspection accuracy for single - atom layer materials such as graphene is even as high as 2 picometers, providing new ideas for the precision inspection of high - reflective surfaces and curved workpieces.

In addition, Niu Mengxuan also introduced the integrated optical inspection platform implemented by the team. By integrating automated 3D laser scanning equipment, a vision - guided automatic feeding system and high - precision automated scanning tooling, this platform achieves in - depth collaboration of multiple systems and has been successfully applied to the inspection of parts in fields such as aerospace.
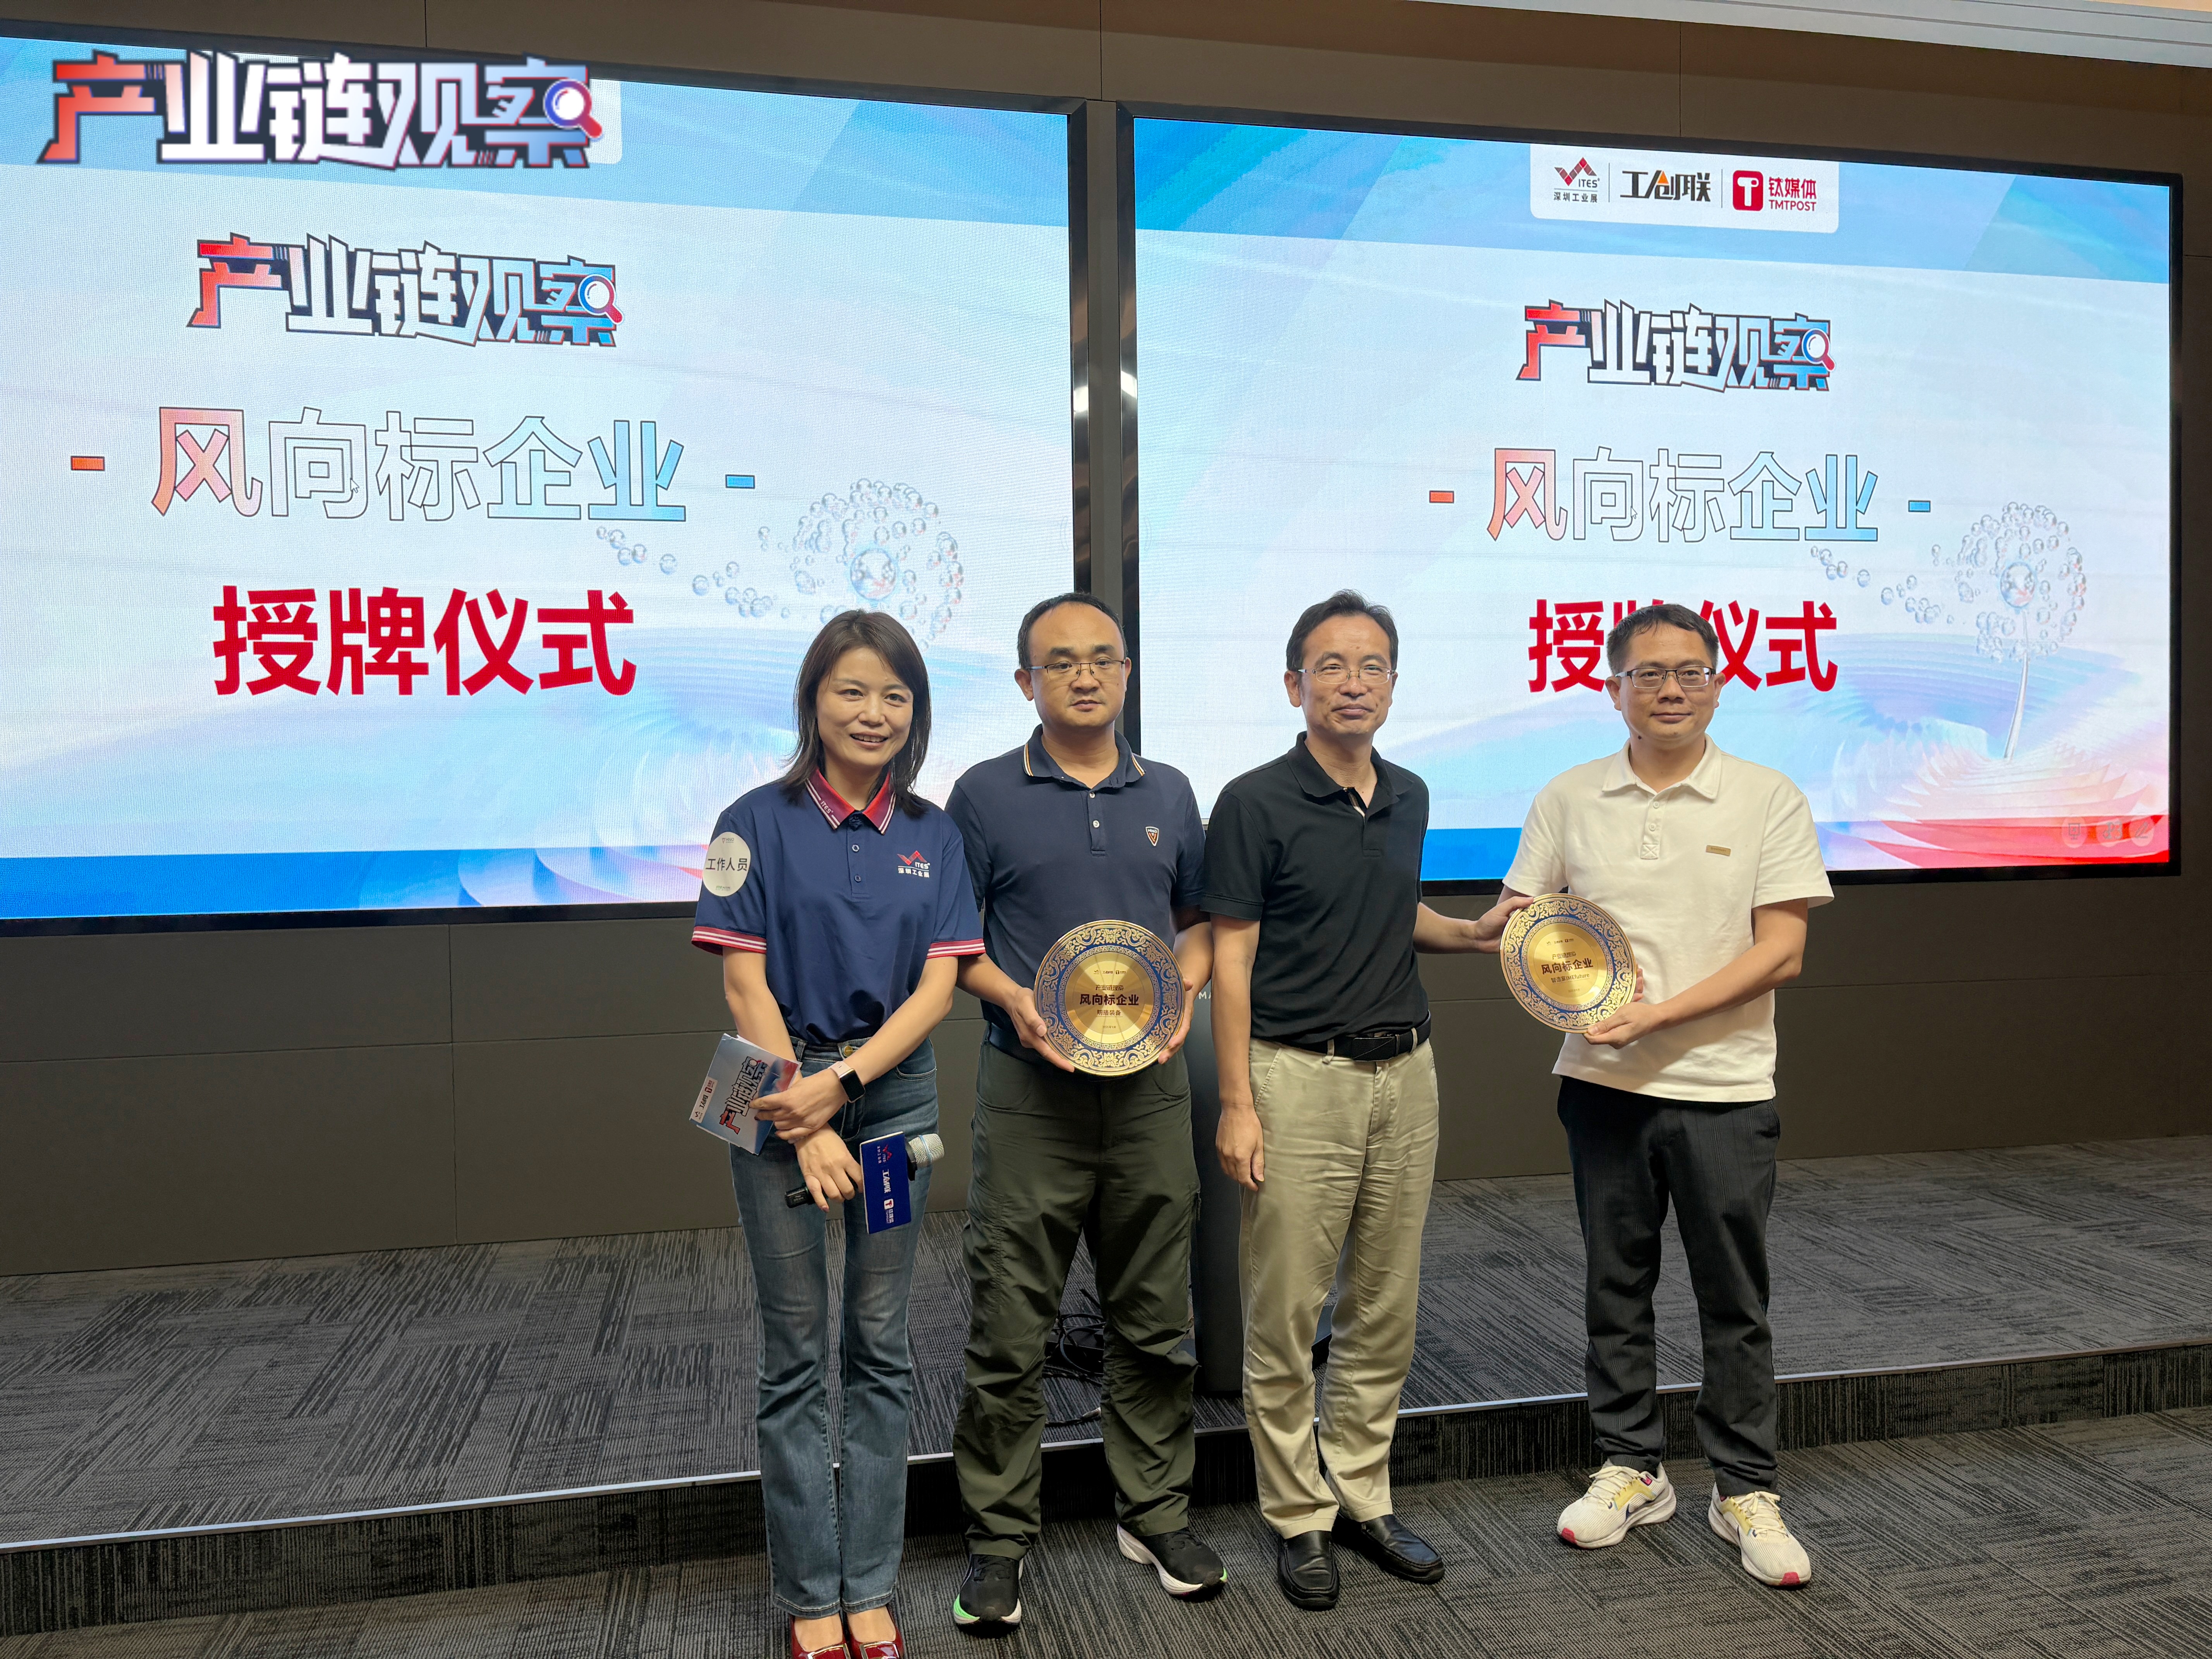
As a "manufacturing individual champion" recognized by the Ministry of Industry and Information Technology, MINO Equipment's digital workshop became the most intuitive case on site. In the digital workshop, the IME Smart Manufacturing Industrial Internet Platform connects practitioners and the supply chain in the robot automation and intelligent equipment industry, realizing comprehensive management of production lines, equipment and the production and delivery process of parts.
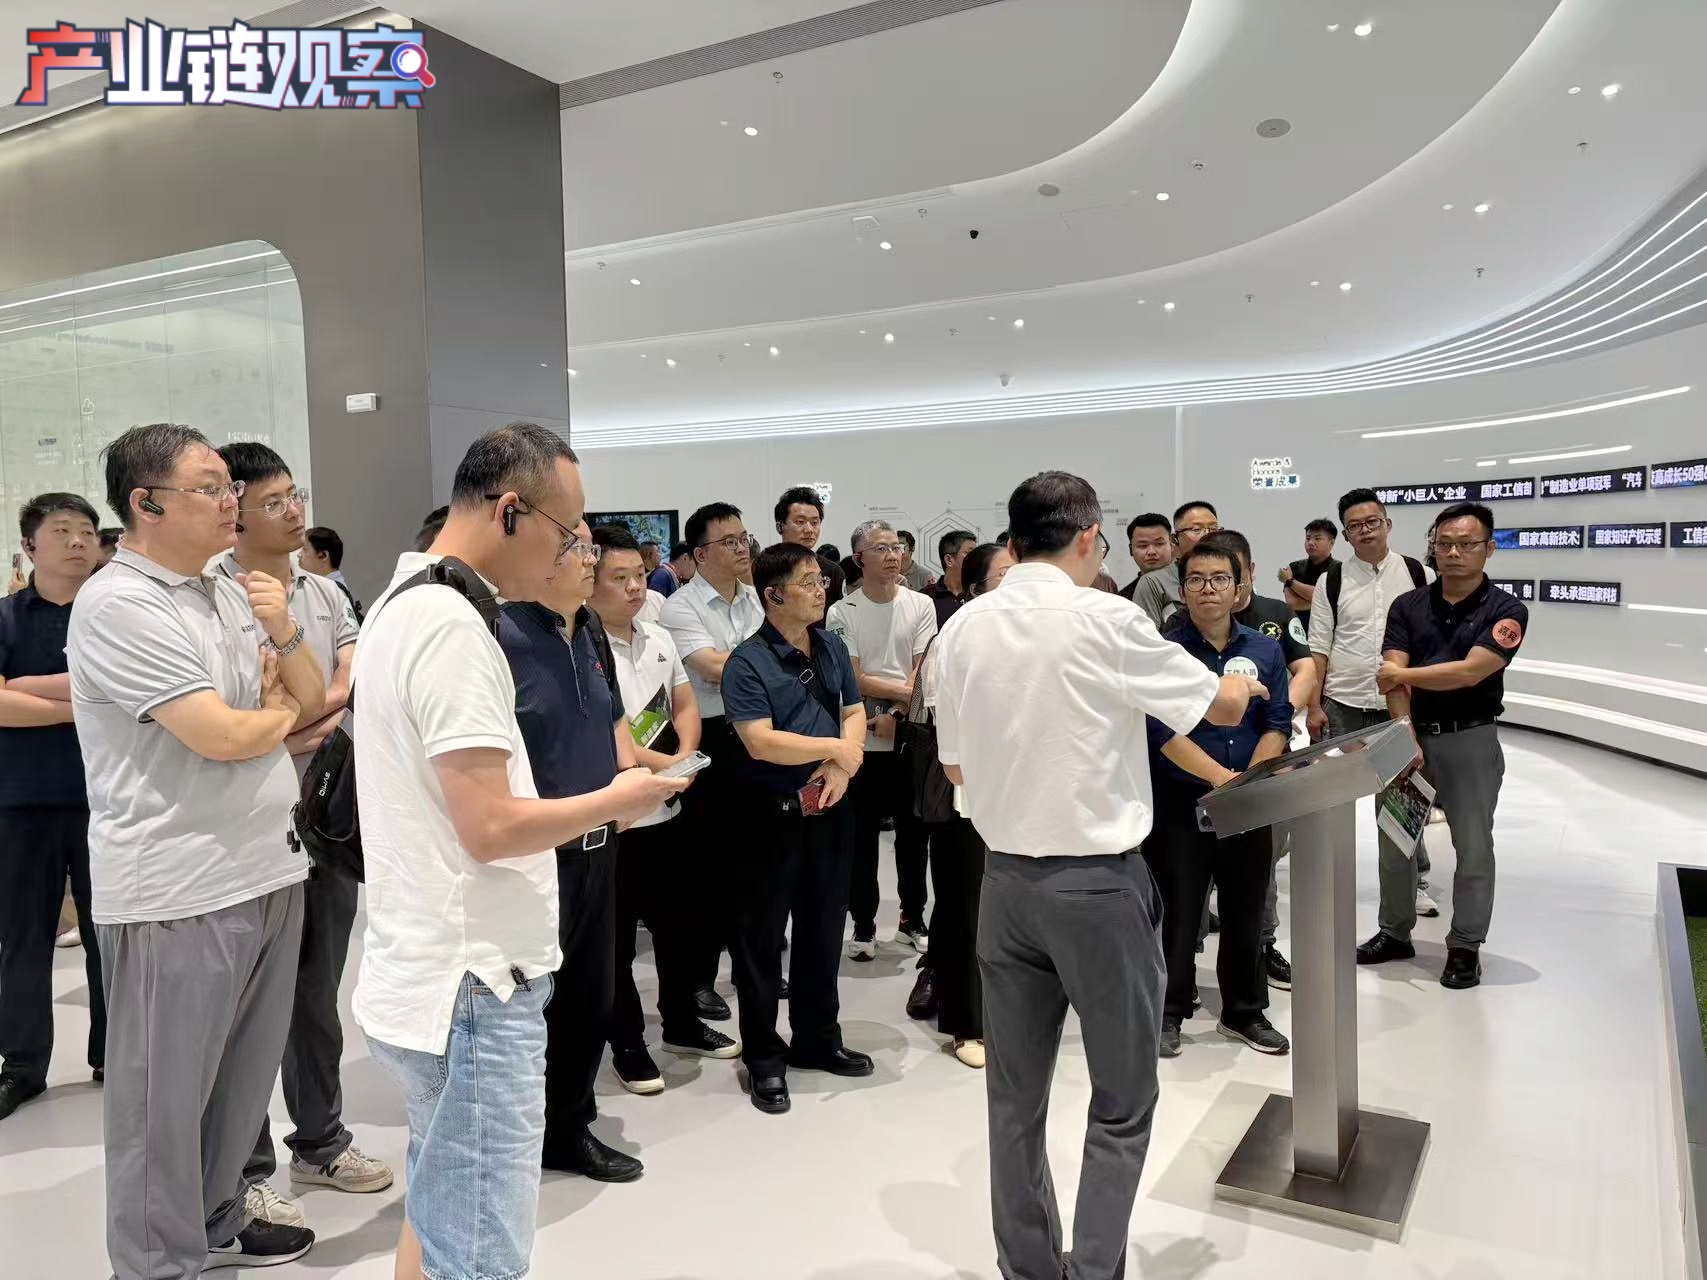
Mei Ziyuan, a consultant from Smart Manufacturing Consulting, shared the digital automated production line solution in the field of non - standard equipment manufacturing. Aiming at the requirements of non - standard equipment manufacturing such as large single pieces, small batches, complex product structures, long project cycles, difficult cost accounting and control, and refined management, Smart Manufacturing provides a full - process MES solution covering key businesses such as work order management, procurement, production, installation and delivery. It quickly builds segmented fields industry solutions according to industry characteristics and has grown into a leading enterprise cloud service provider for automated equipment after ten years of accumulation.
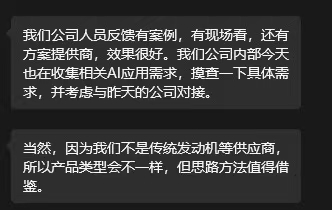

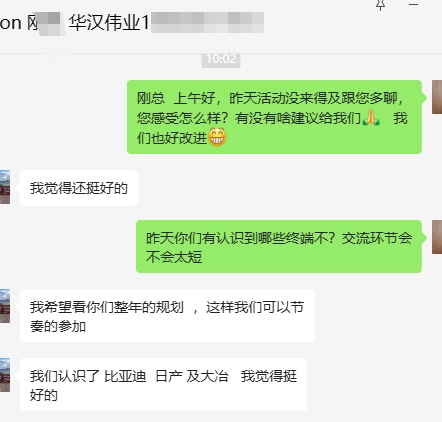
As one participant put it: "Truly excellent technology should not be confined to academic papers or exhibition halls; it must be applicable on production lines and truly solve problems in various practical scenarios." This is precisely the original intention behind ITES Shenzhen Industrial Exhibition's consistent implementation of the "Industrial Chain Observation" initiative. To this end, the "Machine Vision Application and Testing Equipment Zone" at the ITES Shenzhen Industrial Exhibition, which will be held from March 31 to April 3 next year, will focus on showcasing defect detection, dimension measurement, and appearance inspection technologies applied in the production process of precision components. It will also provide machine vision integration solutions, CCD vision testing equipment, camera components, vision software platforms, code readers, lenses, and other related solutions and parts. These offerings aim to provide tangible, iterable quality improvement support for industries such as 3C and electronics, semiconductors, new energy lithium batteries, automobiles and auto parts, and machinery manufacturing.

AI-enabled quality inspection has become an irreversible trend, yet achieving "detectable, accurate, and fast measurement" remains a long and arduous task. If you are also troubled by surface defect quality issues, or if you have mature solution cases and wish to learn about and address more quality inspection needs of auto parts enterprises, please scan the QR code to contact the [Industrial Chain Observer]. You can also join the inspection exchange group and receive an exclusive insight report on the auto parts industry~
