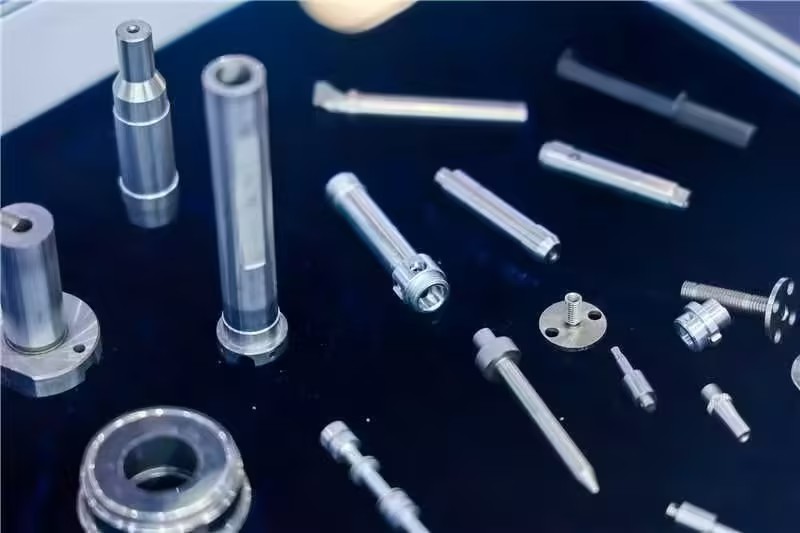
Micron-Level Precision Solving Component Challenges: How Machine Vision Tackles the “Hard Nuts” in Auto Parts Quality Inspection?
【Introduction】 Visual Inspection、 Automotive Components、Precision Machining
Introduction:A new energy vehicle (NEV) is equipped with over 10,000 critical components, yet a mere 0.1 mm flaw can trigger safety hazards such as battery leakage, circuit failures, or vehicle performance degradation—all pointing to inadequate quality inspection.
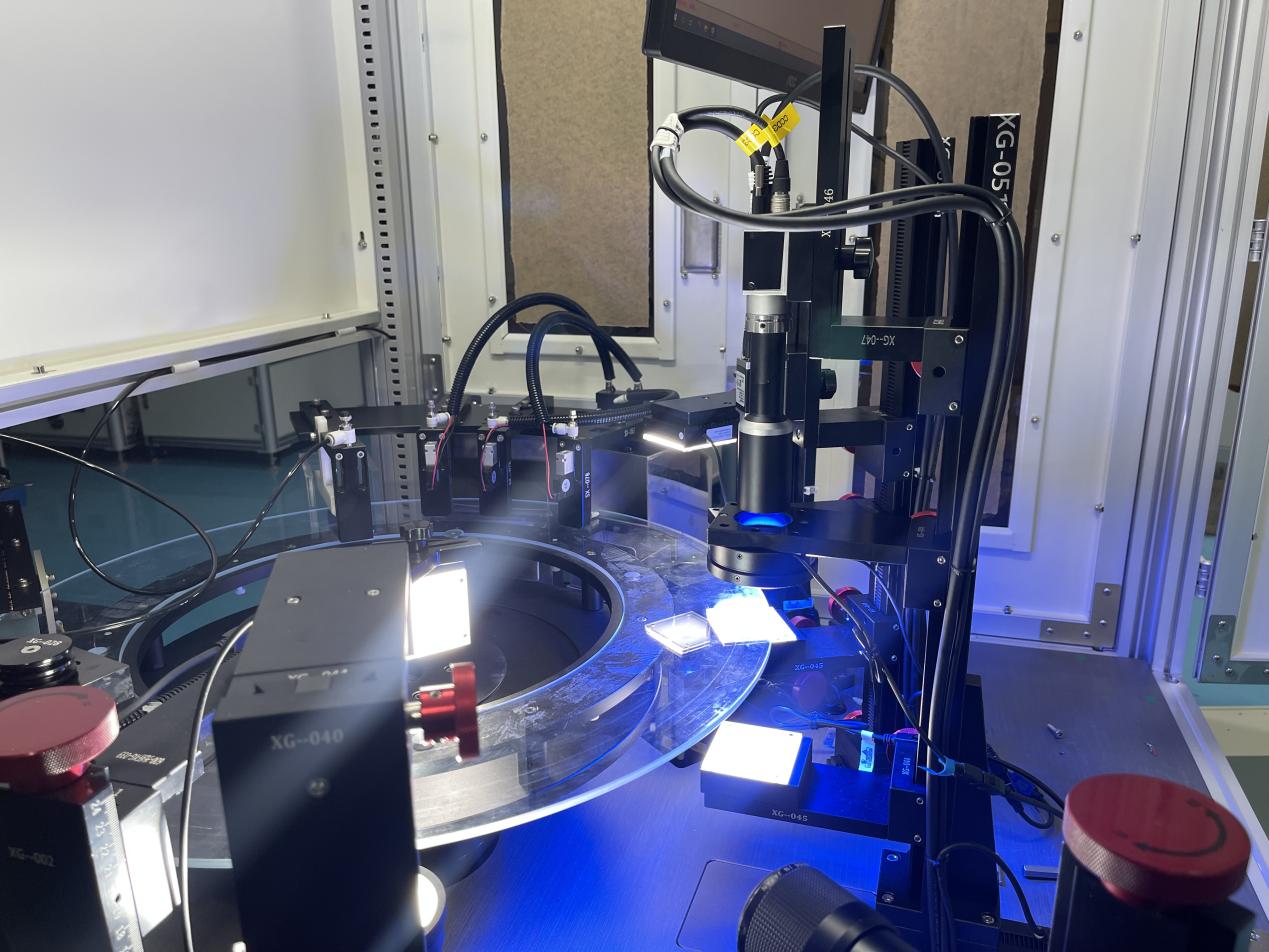
Under the dual pressures of scaled manufacturing and extreme safety requirements, manual visual inspection can no longer keep pace with the explosive growth in auto part production capacity. Machine vision has thus emerged as a key solution for incoming and in-process quality inspection of components.
Why the Surge in Demand for Machine Vision?
In traditional manufacturing, manual inspection is often constrained by subjectivity, fatigue, and insufficient precision, leading to high miss rates and low efficiency.
Machine vision systems address these issues by enhancing both efficiency and yield.
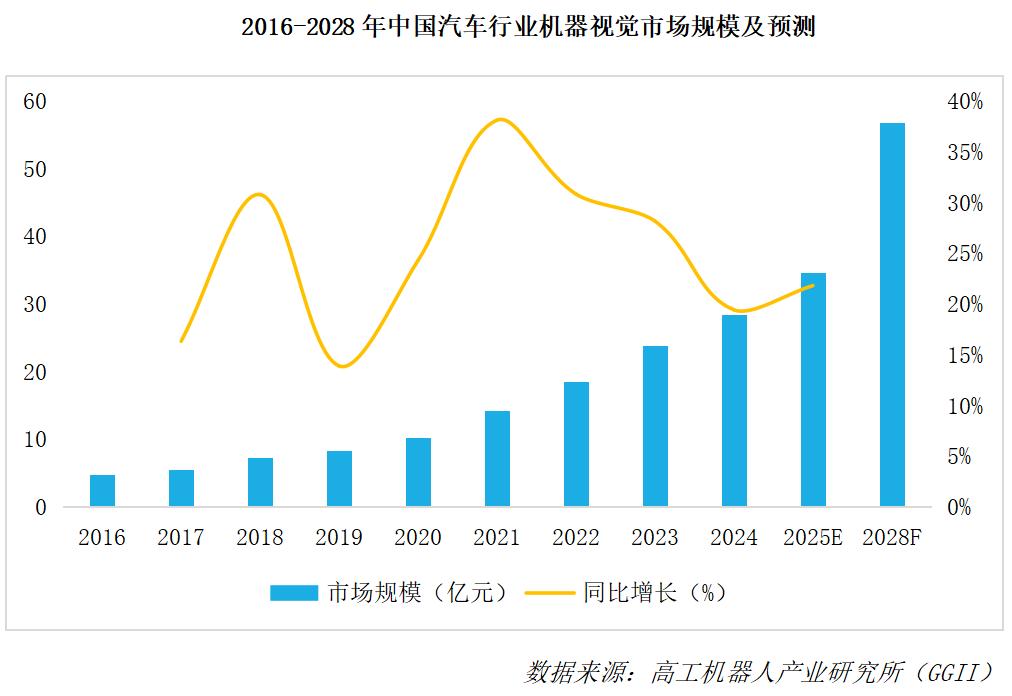
Although China’s machine vision market size saw a slight decline of 1.97% in 2024 due to macroeconomic factors, dropping to 18.147 billion yuan, the market is projected to exceed 21 billion yuan in 2025 as industries like new energy, semiconductors, and high-end equipment raise their precision requirements—ushering in a new growth cycle.

GGII (Gaogong Industry Research Institute) further predicts that the application scale of machine vision in the automotive industry will exceed 5.6 billion yuan by 2028, with a compound annual growth rate (CAGR) of approximately 17% from 2024 to 2028. As NEV penetration continues to rise, machine vision will see sustained expansion and rapid growth in “intelligent inspection” across production lines.
Scratches? Deformation? Which Auto Part Defects Are Most Challenging to Detect?
Machine vision in auto part inspection focuses on high-precision components to ensure compliance with strict standards at every stage. While basic defects like scratches and wear are common, they represent only a fraction of the challenges.
Detection of Precision Metal Parts for Automotive Connectors
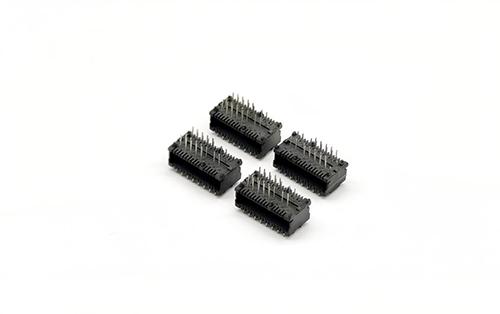
Connectors are critical to automotive circuits, ensuring stable transmission of electronic signals. Beyond conventional defects like contour dents, broken posts, and surface scuffs, connector inspection must also address pin spacing, coplanarity, surface oxidation, and poor burr/filling—issues that can cause poor contact if unaddressed. For instance, pin spacing deviation must be less than 0.02 mm, and burrs (including parting line step differences) and post depressions must be kept below 0.1 mm. Such precision metal parts face even more surface defect detection hurdles in actual production.
Previously, the fourth stop of ITES Shenzhen Industrial Exhibition’s “Industrial Chain Exploration” event—co-organized with Gongchuanglian and TMTpost—visited Huayang Precision Machinery. The company brought together teams from its aluminum/zinc processing, injection molding, and FA (factory automation) divisions, along with management, to systematically address pain points in quality inspection and automated polishing/grinding, culminating in this research and matchmaking initiative.
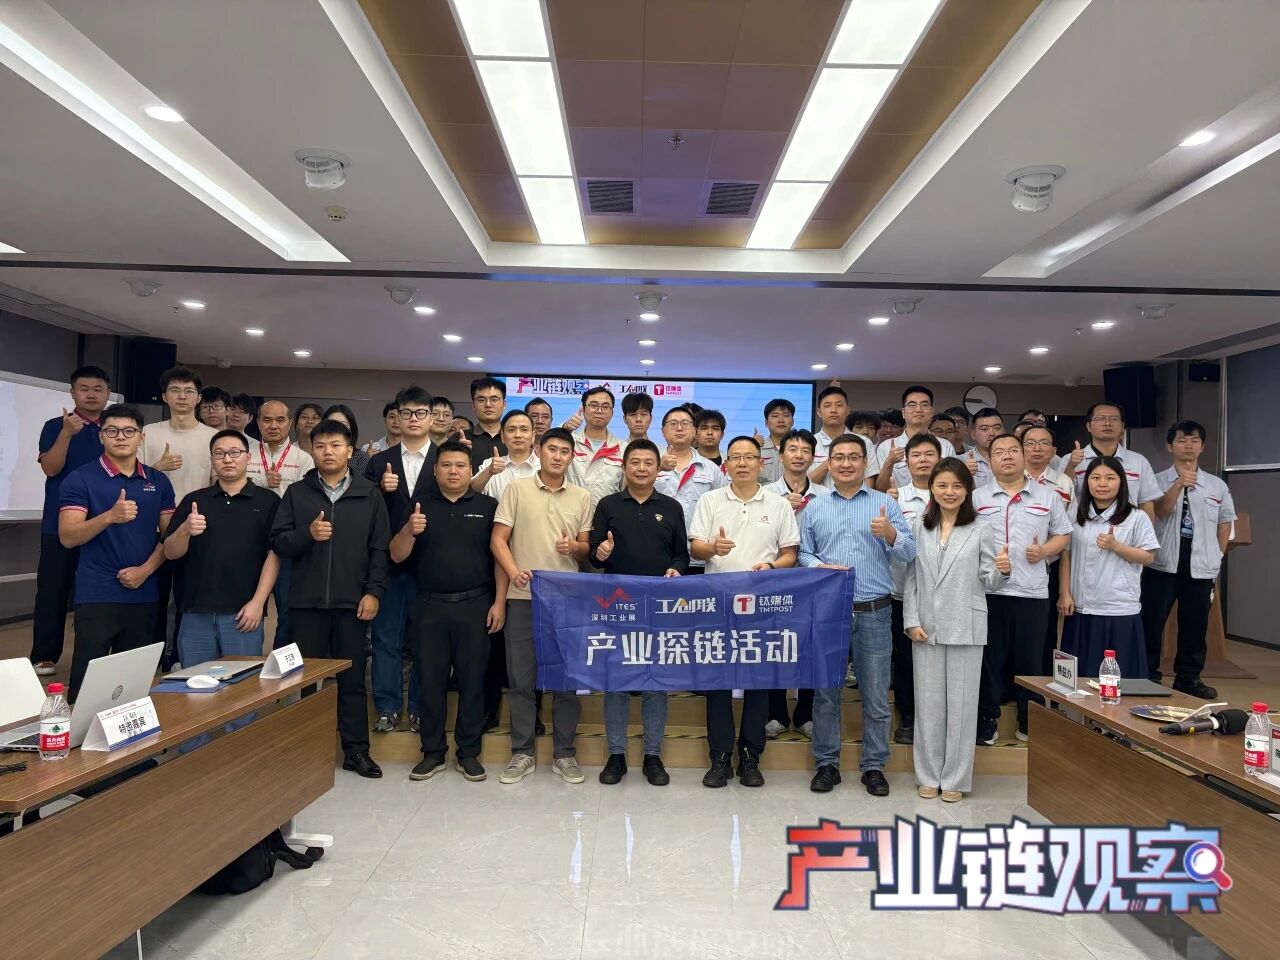
As a wholly-owned subsidiary of Huayang Group Co., Ltd., Huayang Precision Machinery specializes in the development, production, and sales of high-precision zinc/aluminum/magnesium alloy die-casting, high-precision injection molding, machining, and precision molds for critical auto parts. It holds 105 patents and 2 software copyrights, achieves precision processing with wall thickness of 0.2 mm and accuracy of 0.003 mm, and has built an integrated rapid manufacturing system covering design, programming, and machining. Feedback from Huayang Precision Machinery highlights current challenges in appearance defect inspection:
· Defect types are complex and diverse, including bulges, peeling, exposed copper, burrs, scratches, and post depressions.
· Inspection standards are extremely strict: depressions must be controlled within 0.1 mm, and burrs must not exceed 0.11 mm.
· Manual inspection struggles to balance efficiency and consistency, severely impacting mass production quality and customer complaint rates.
· …
Addressing these challenges requires leveraging high-precision machine vision equipment combined with AI-powered visual technology to improve yield and reduce misjudgment rates—a critical issue enterprises must prioritize.
For any component inspection, speed and precision are the two most vital factors for machine vision systems. Key requirements include: resolution typically above 5 million pixels for micron-level defect identification; measurement accuracy of ±0.01 mm and surface inspection sensitivity below 0.1 mm; processing speed matching production line workflows (generally 10–30 frames per second); and resistance to vibration and light variations, with support for real-time data output and SPC statistical analysis.
Detection of Motor Stators and Rotors
Take motors as an example: stators and rotors, as core components accounting for a significant portion of motor costs, are widely used in NEVs, machinery manufacturing, and refrigeration compressors. With the concentration of NEV OEMs and supply chains in South China, the penetration rate of hairpin motors is projected to exceed 60% by 2025, driving massive demand.
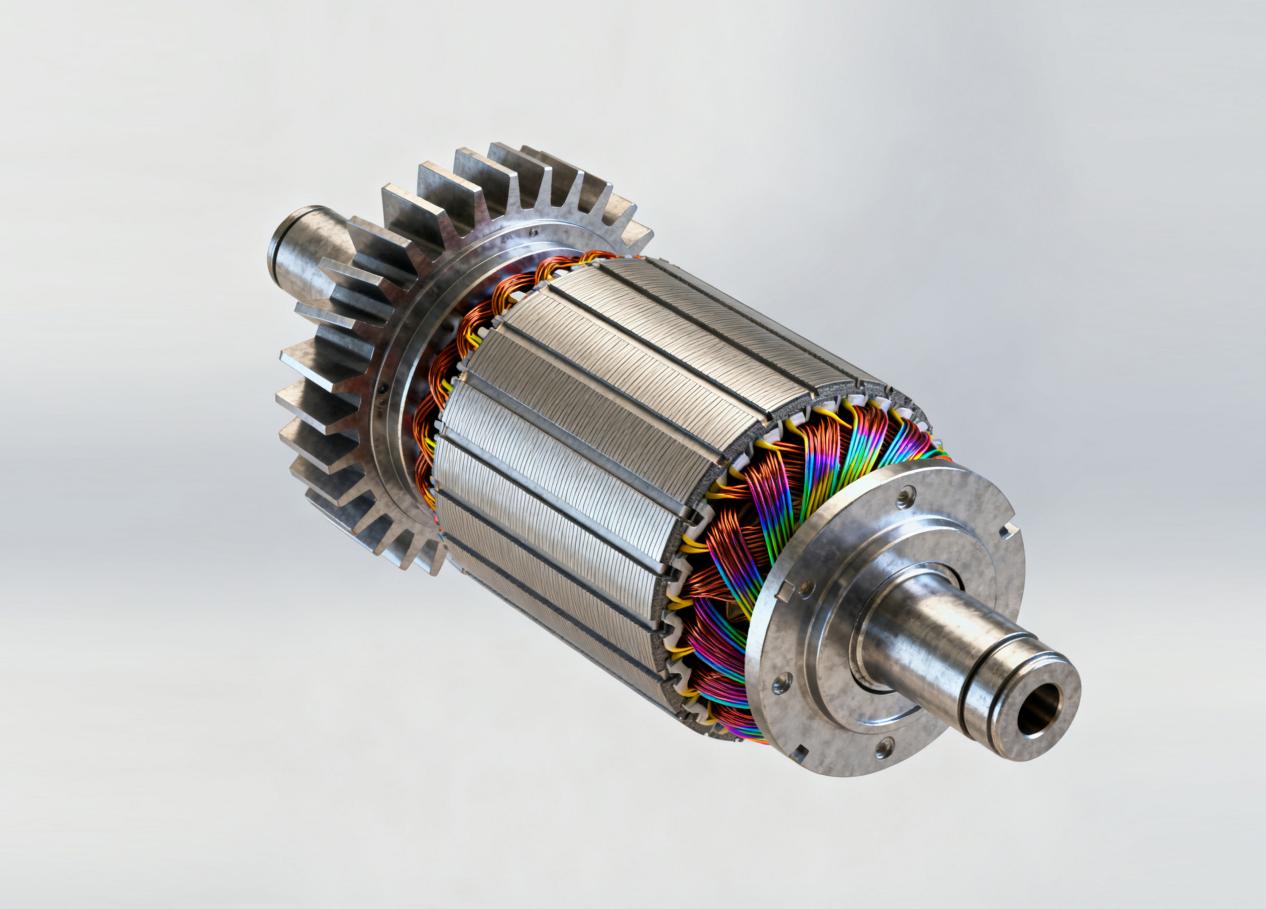
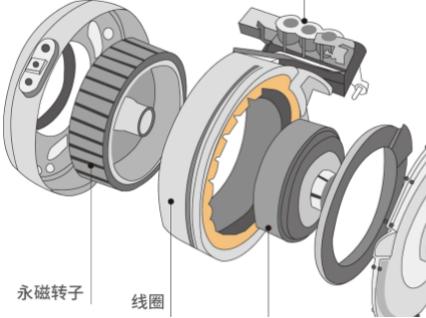
Stator cores are made by stacking silicon steel sheets, with slot dimension deviation controlled within 0.1 mm. The inner circle features evenly distributed slots for winding coils. To ensure smooth coil winding and motor efficiency, machine vision systems must inspect parameters like concentricity, profile, slot width, and slot depth, while detecting rust, burrs, and scratches to prevent insulation damage.
Motor rotors involve shaft alignment, dynamic balance, and surface defect inspection. 3D vision is required to measure rotor slot symmetry and shaft offset with micron-level accuracy, avoiding noise and wear during operation.
Detection of Battery-Related Components
Safety and sealing are paramount for NEV batteries. For battery housings, key inspection items include weld seam integrity, surface flatness, and anti-corrosion coating uniformity, with dimensional accuracy requirements of ±0.1 mm.
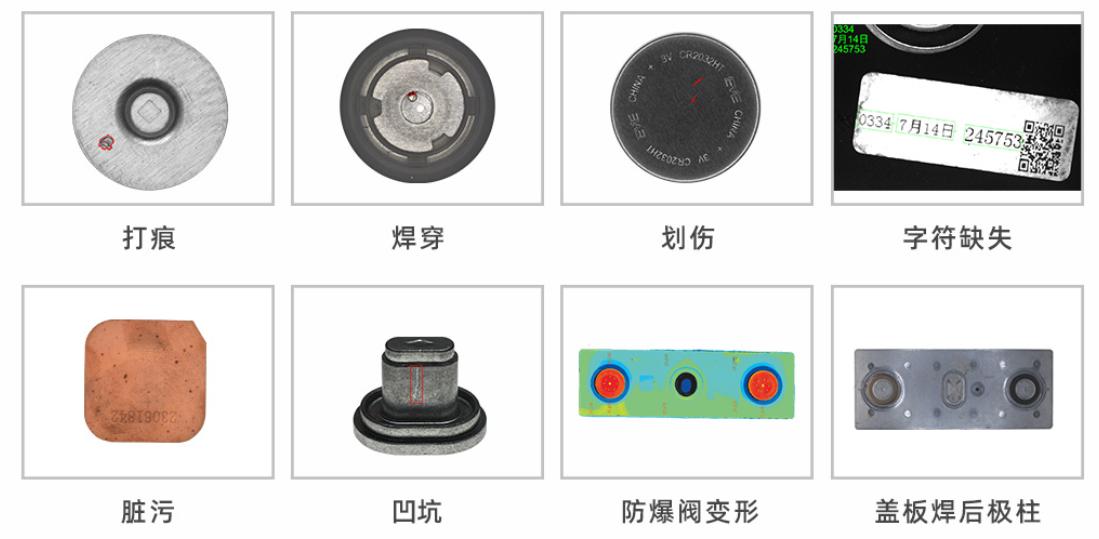
For battery poles, beyond conventional defects like pits, scratches, indentations, and dirt, inspection must also cover flatness, parallelism, height difference, pole diameter, profile, and hole position of positive/negative poles. Pole dimension accuracy typically requires 0.02–0.05 mm to ensure reliability in subsequent welding and sealing processes. Excessive positional tolerance in poles may lead to welding misalignment or poor contact, risking local overheating or even thermal runaway.
Rising to Challenges: Machine Vision Solutions Leveraging Unique Strengths
Facing increasingly complex inspection demands, domestic machine vision enterprises have rolled out specialized solutions for NEV components, drawing on localized services and technical expertise.
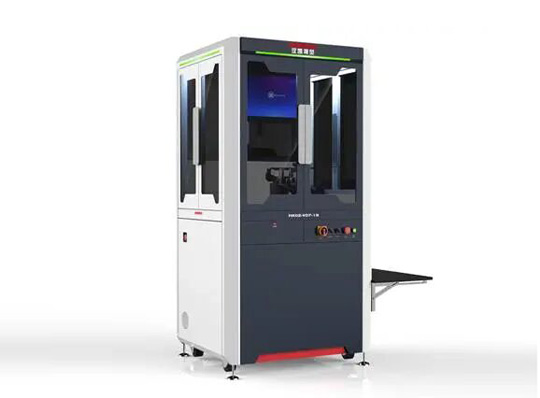
Hankai Vision’s HK-H1 and HK-H2 visual inspection equipment for motor commutators (rectifiers) enables fully automated inspection of appearance dimensions and cosmetic defects like bakelite damage, claw deformation, and inner hook damage, while intelligently generating inspection reports to optimize production processes and reduce costs.
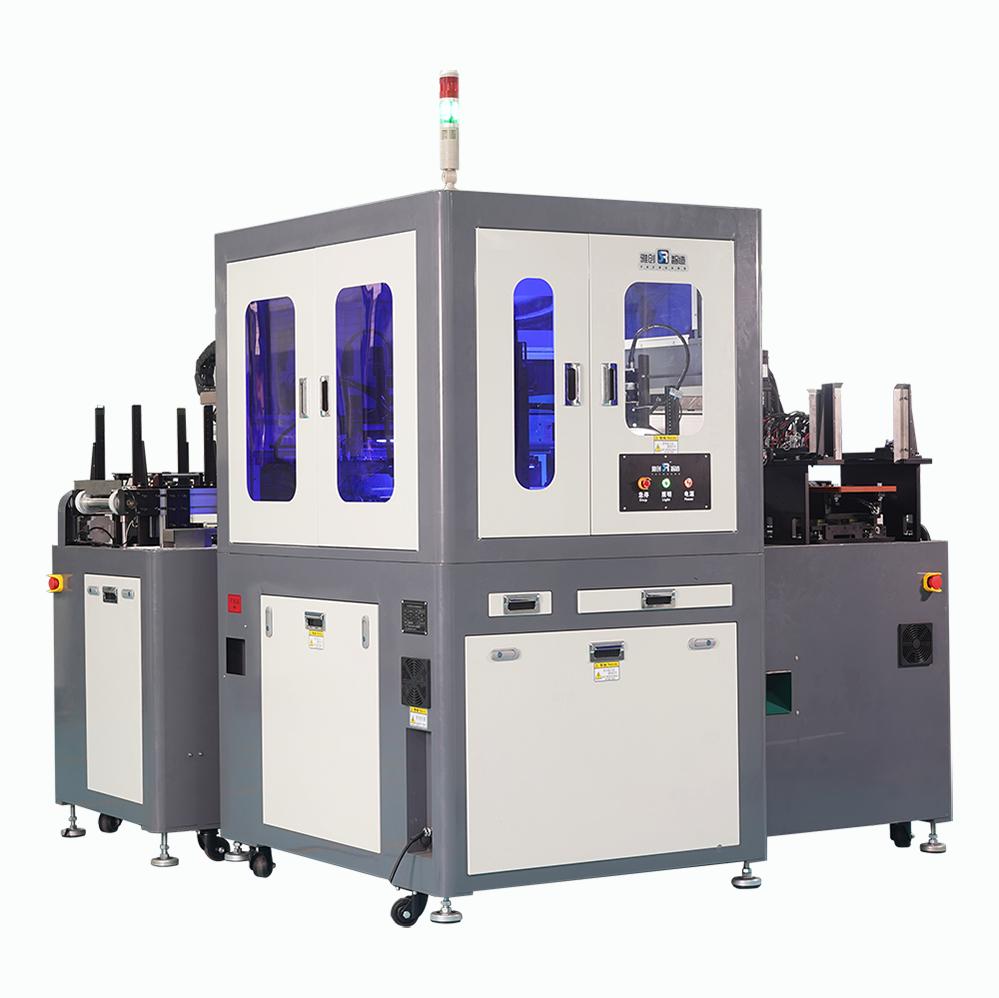
Yachuang Automation’s battery pole visual inspection solution integrates high-definition cameras, image acquisition cards, and intelligent algorithms for comprehensive pole inspection. The system quickly captures pole images via cameras, with algorithms analyzing and identifying defects like welding ring indentation, oxidation, aluminum surface indentation, missing glue, small holes, and welding ring gaps—achieving micron-level accuracy.
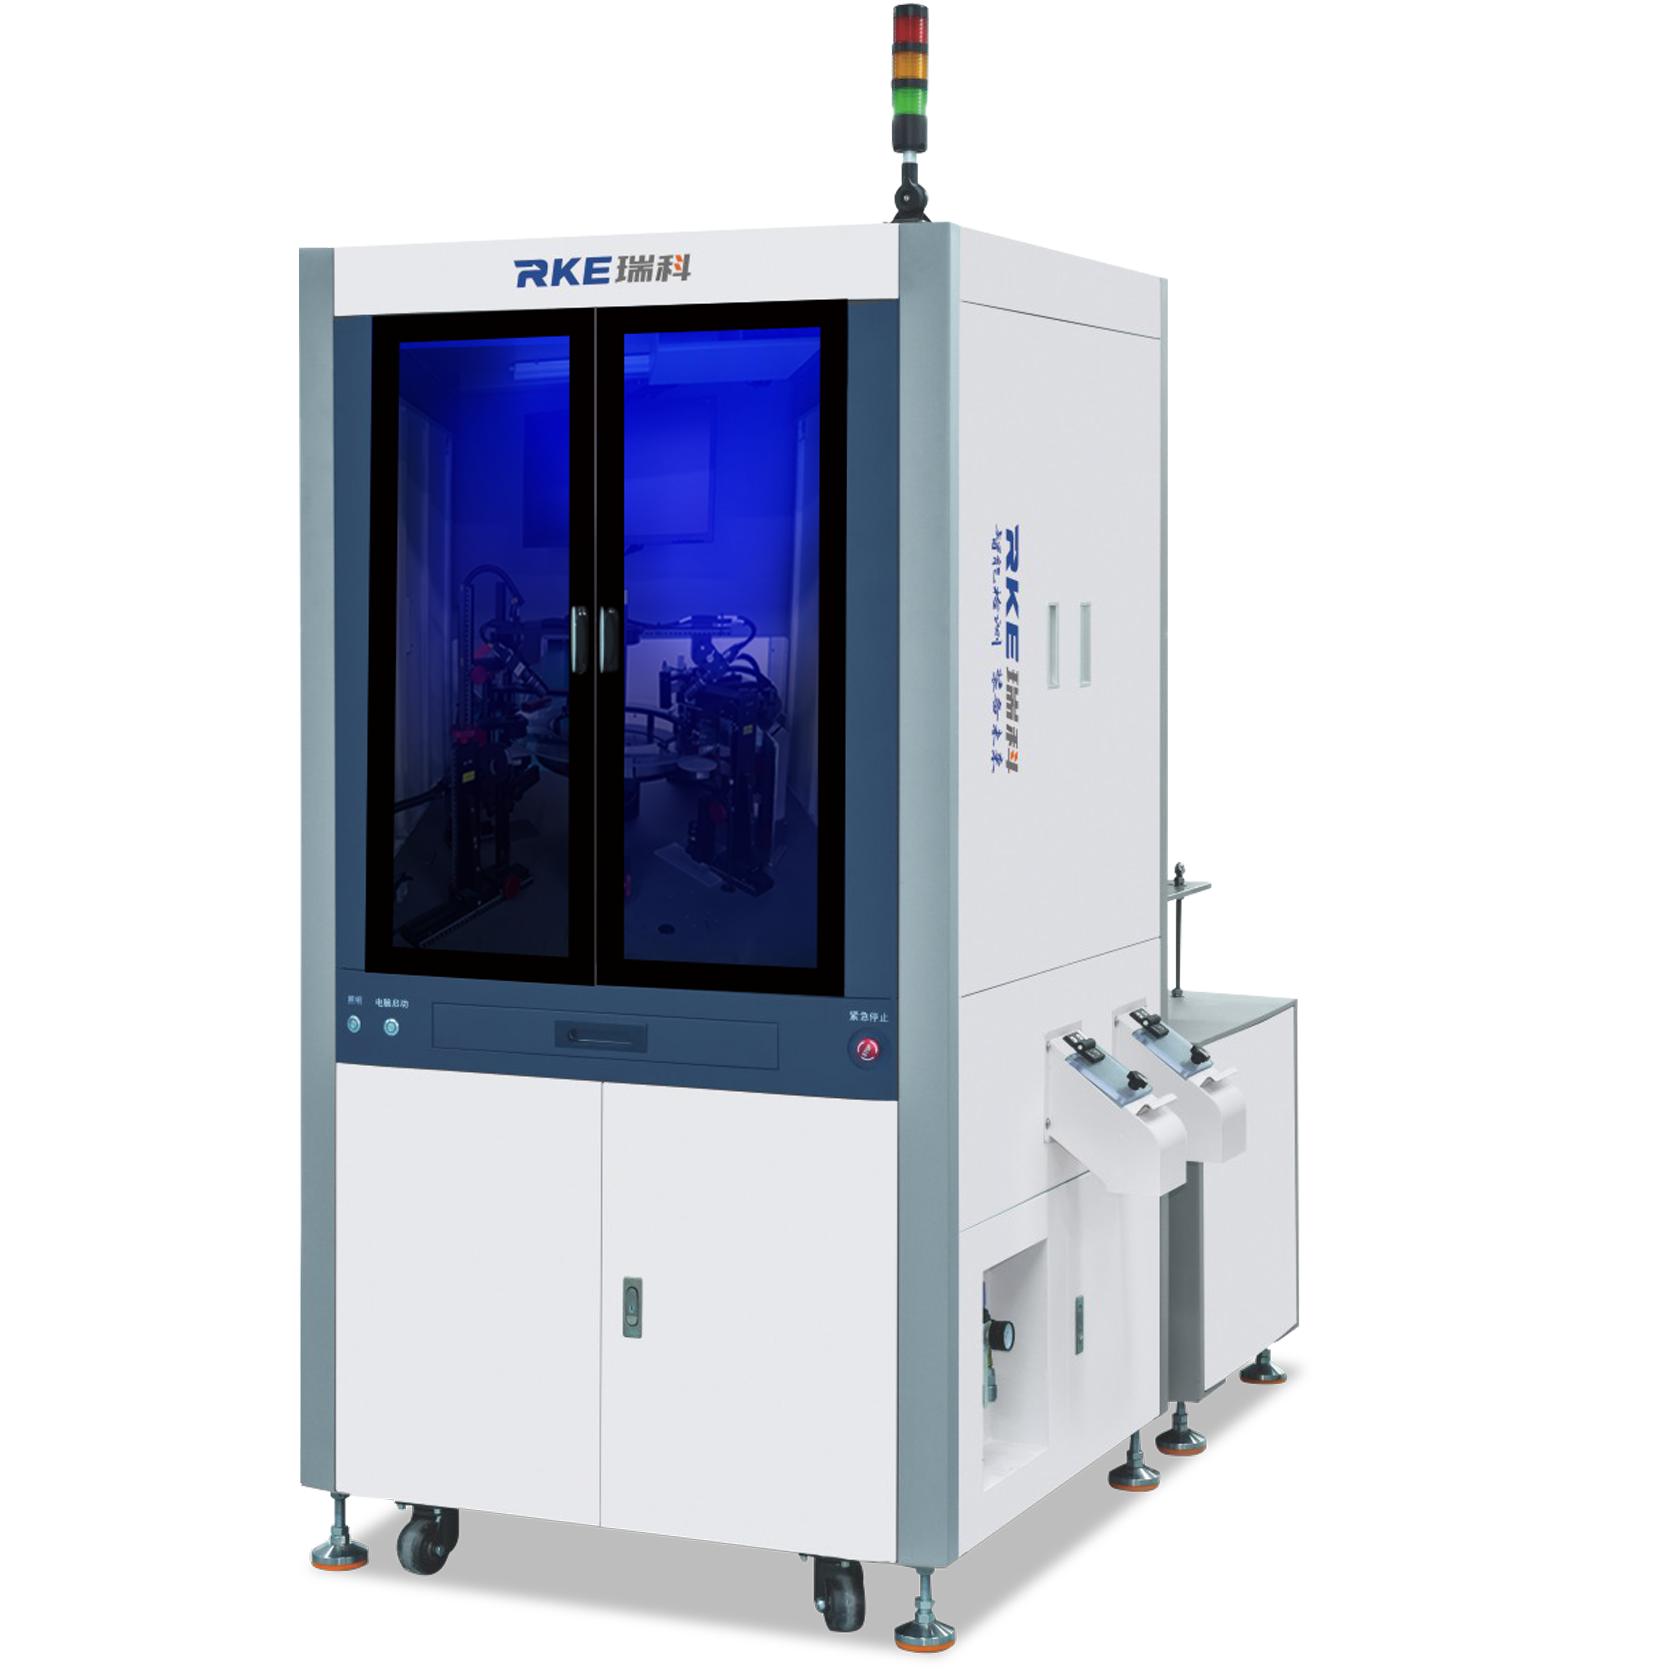
Reke Intelligence’s connector visual inspection equipment uses vibratory bowl feeding and is equipped with 8 CCD industrial cameras plus AI-powered visual inspection software. It checks critical dimensions (e.g., left/right pin length, left/right knurling height) against blueprints and detects surface defects like pin skew, missing pins, missing glue, and flash. With an inspection speed of 150 pcs/min and accuracy of ±0.01 mm, it is ideal for high-speed production lines.
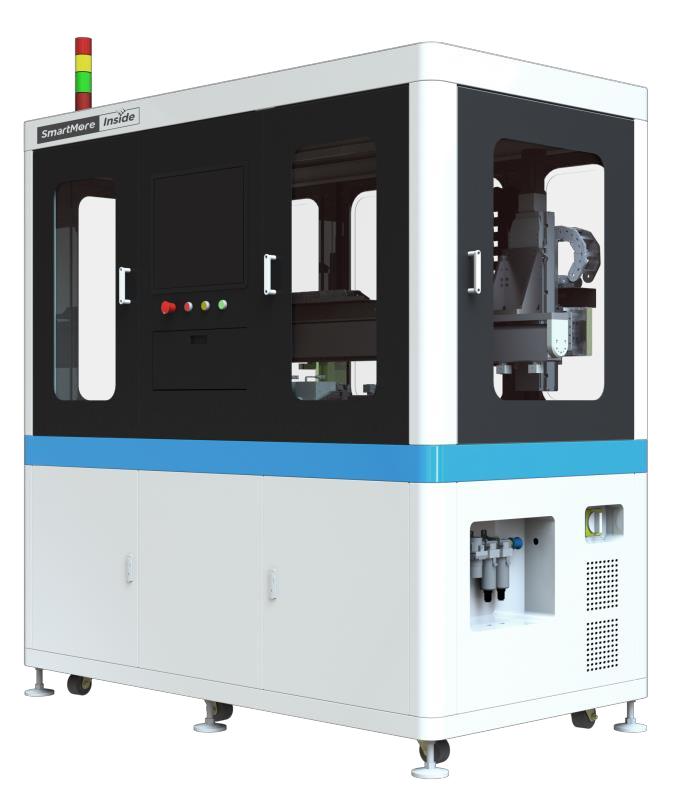
SmartMore Technology employs photometric stereo imaging and a five-axis mechanical structure for 360° all-around precise detection of surface defects in auto plated parts, achieving UPH (units per hour) up to 650. For complex defects in new energy battery blue films, it fuses 3D algorithms and AI segmentation to inspect all six sides, edges, and corners. Additionally, SmartMore uses self-developed AIGC technology to generate defect samples, addressing the challenge of scarce defect data and significantly improving detection reliability and efficiency.
At next year’s ITES Shenzhen Industrial Exhibition—Robotics & Automation Equipment Show (late March), these companies will showcase their latest intelligent visual inspection solutions for auto parts. In addition, suppliers covering robotics, tightening, end-effectors, and intelligent material handling solutions—including FANUC, Kawasaki, Epson, Flexiv, Outuo Automation, Qilisu, and Rongyi—will also present their latest products, offering a panoramic view of precision component production automation. Stay tuned!
ITES Thematic Exhibition—Machine Vision Application & Inspection Equipment Zone (under Robotics & Automation Equipment Show): Focused on defect inspection, dimensional inspection, and appearance inspection scenarios in precision component production, this zone serves industries including 3C & electronics, semiconductors, new energy lithium batteries, automotive & parts, and machinery manufacturing. It provides machine vision integration solutions, visual inspection equipment, camera components, visual software platforms, code readers, lenses, and other solution/component selections. (Click “Read More” at the end for details on more thematic zones~)
If you are also interested in the machine vision industry chain, have innovative solutions for related processing, and wish to deeply engage with leading automotive enterprises such as BYD, GAC Toyota Engine, Daye Motorcycle, and Sanwu Auto to explore cooperation opportunities, welcome to scan the QR code to contact us. Secure your spot at the 2026 ITES Shenzhen Industrial Exhibition and book prime exhibition spaces now!


